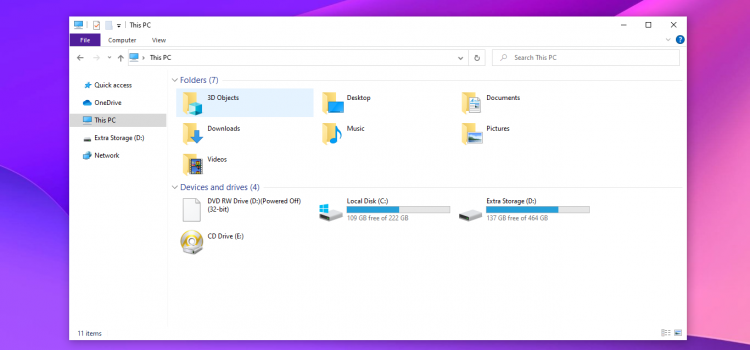


While a lot of users are still not able to update from Windows 10, more awesome Windows 11 hidden features are being discovered in the beta build. These are expected to make the final build later this year. One of them is the tab feature in File Explorer; a highly requested feature since I can remember. Tabs have been available in browsers for the longest time. For Windows 10, you would need a third-party app, but it works perfectly.
Having tabs makes multitasking way better. Having multiple screens splattered on your PC screen can be frustrating to work with. Even when you minimize all the windows, going to the taskbar to select through them is harder in practice than in theory.
As long as your device is able to receive builds from the Beta Channel (22H2) or you have Build 22621.160+, you can also try the new navigation pane alongside tabs in File Explorer.
If you want to add tabs to your file explorer, then continue reading.
As mentioned earlier, for Windows 10, you’ll need a third-party app to implement this. This app is safe though if you’re wondering. The app is QTTabbar. To add tabs to file explorer in Windows 10:
Download the QTTabbar app from here.
These steps should help you with enabling tabs on File Explorer. This is a game-changer, as it greatly improves multitasking. It also reduces window clutter when you’re working with multiple folders. The number of times I’ve clicked on the wrong folder window while trying to copy files from one folder to another is immense. If you’re like me, you may want to give this a shot. It’ll change your Windows experience entirely. If you have any questions, feel free to ask in the comments!
If your PC specs don’t meet the minimum requirements for Windows 11, don’t worry. We have an article on how to bypass the TPM 2.0 and Secure Boot checks. You can read it here.
| Cookie | Duration | Description |
|---|---|---|
| cookielawinfo-checkbox-analytics | 11 months | This cookie is set by GDPR Cookie Consent plugin. The cookie is used to store the user consent for the cookies in the category "Analytics". |
| cookielawinfo-checkbox-functional | 11 months | The cookie is set by GDPR cookie consent to record the user consent for the cookies in the category "Functional". |
| cookielawinfo-checkbox-necessary | 11 months | This cookie is set by GDPR Cookie Consent plugin. The cookies is used to store the user consent for the cookies in the category "Necessary". |
| cookielawinfo-checkbox-others | 11 months | This cookie is set by GDPR Cookie Consent plugin. The cookie is used to store the user consent for the cookies in the category "Other. |
| cookielawinfo-checkbox-performance | 11 months | This cookie is set by GDPR Cookie Consent plugin. The cookie is used to store the user consent for the cookies in the category "Performance". |
| viewed_cookie_policy | 11 months | The cookie is set by the GDPR Cookie Consent plugin and is used to store whether or not user has consented to the use of cookies. It does not store any personal data. |