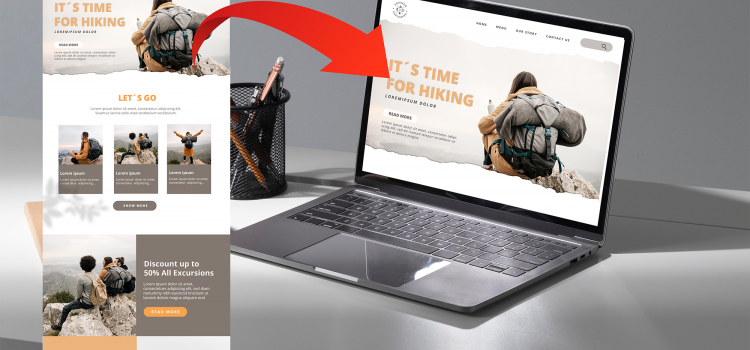


Sometimes, you don’t want to build a website from scratch. Or you’ve seen a theme that fits with your vision for how your website should look. Several sites provide free and paid themes, like Envato and Themeforest. After buying and/or downloading your desired theme, it is easy to install and import demo data in WordPress.
When buying a theme, check that it includes documentation, licenses, and a demo. These will make it easy to import the whole site. Any theme you buy or download will contain all the plugins needed for the theme to function properly.
After buying the theme:
At this point, you have imported your website. Go ahead and customize and personalize it for your business or personal use. You can also use this procedure to install a backup of your website.
| Cookie | Duration | Description |
|---|---|---|
| cookielawinfo-checkbox-analytics | 11 months | This cookie is set by GDPR Cookie Consent plugin. The cookie is used to store the user consent for the cookies in the category "Analytics". |
| cookielawinfo-checkbox-functional | 11 months | The cookie is set by GDPR cookie consent to record the user consent for the cookies in the category "Functional". |
| cookielawinfo-checkbox-necessary | 11 months | This cookie is set by GDPR Cookie Consent plugin. The cookies is used to store the user consent for the cookies in the category "Necessary". |
| cookielawinfo-checkbox-others | 11 months | This cookie is set by GDPR Cookie Consent plugin. The cookie is used to store the user consent for the cookies in the category "Other. |
| cookielawinfo-checkbox-performance | 11 months | This cookie is set by GDPR Cookie Consent plugin. The cookie is used to store the user consent for the cookies in the category "Performance". |
| viewed_cookie_policy | 11 months | The cookie is set by the GDPR Cookie Consent plugin and is used to store whether or not user has consented to the use of cookies. It does not store any personal data. |